PV3 installation guide
 |
NOTE: Requires strong glue PVC |
|
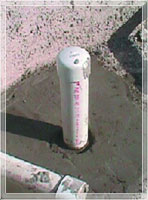
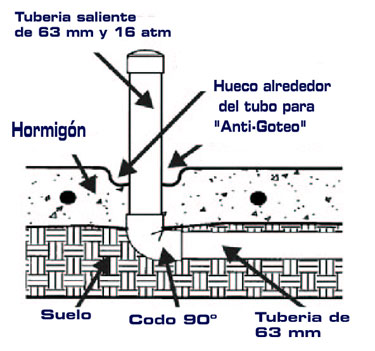
Make room in the cement around the raising pipe approximately 2,5 cm wide and 2,5 cm depth. This place will be filled with cement-glue in order to create the effect anti-dripping. |
 |
|
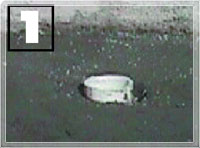
1. Cut the pipes raising from the floor flat with the cement |
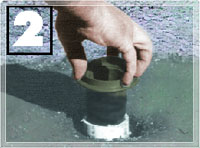
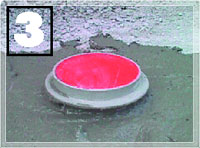
2. Take away the cover. Get ready to glue the interior part of the raising pipe.Don't prepare the PV3 body yet. |
|
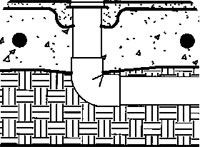
3. Glue the PV3 body in the interior of the raising pipe. Use a strong glue for the PVC. The glue has to cover totally the cylindrical part of the PV3 body and around 8cm inside the raised pipe. Insert the PV3 body inside the raised pipe all the way up. (look at the above image). DO NOT TURN AROUND THE BODY INSIDE THE PIPE
|
4.Leave the glue to evaporate approximately 30 minutes and after put the covers of the bodies. Move to the finishing of the pool. Leave all the covers on until the pool is finished. NOTE: Optionally the finishing theam can take the covers while they finish their work. NOTE: The PV3 body does not have installed the head. |


